How to Create a Social Tags for Competitions Rick Guymon
If you struggle with getting your audience posting about you, you might want to consider running a Social Tags Competition. This is a great way to incentivize your customers to post about you, and it's great content you can not only add to your Gigg Board but also post on your company's social media platforms and allows you to have plenty of content to work with!
The best part, you can automate the competition inside Gigg !
Here is how you can set it up:
1. Create a Competition
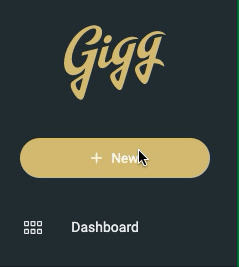
When you first login to your Dashboard, click on the New button. You now have the option to build either a new Board or a new Competition. Click on Competition and then you will see a prompt to name the Competition.
2. Navigate to Competition Settings
Click on Competition Settings from the left menu. Then click on the Competition tab in the top right to begin setting up your new competition.

3. Select a Competition Submission Type
Under the Type of competition, you will select Social Tags. This is important to do first because it will automatically adjust the settings for the specific type of competition.
On this same page, you will also want to add in an Admin Email and/or the Admin Phone Number. This is important because when you enter this information, once the competition is over, it will send either an email or a text notifying you of who the winner is.
You can also set up a recurring schedule. If you want to run a competition more than once, you can schedule to have the competition recur either weekly or monthly.
There are some good use cases for setting up a recurring competition. For example, a restaurant could post on their social media saying, "We are giving away a $100 gift card every week this month! All you have to do is tag us in a post at our restaurant. Winner is chosen every XXXX!" This way, you can get some great user-generated content, and you will be notified every week of a new winner to announce!
4. Stages
Next you will be directed to the Stages tab. This allows you to decide when to start and end the competition, as well as determine the number of winners and how they are selected.
You have two options on how to select the winner(s). You can choose to have winners selected randomly or make it a company choice.
.gif)
**If it is a company choice, it is important to note you will be notified when the competition is over, but you will go into the Submissions folder and choose the winners to notify. **
Lastly, on the Stages tab, you will decide when to approve and notify the winers. When you set the end date, it will automatically adjust to notify the winner 15 minutes after the competition ends, but you can set it to whatever works best for you.
5. Social Tab
Next is the Social tab. Here is where you will connect the social platform you are planning on hosting the competition on. As of right now, you have two options: Instagram or Twitter. Here you will connect the platform(s) you are running the competition on.
It is important to connect the social accounts you are planning on having people tag to enter the contest. When you select the time to receive submissions, during the allotted time, all of tagged posts to the connected social accounts will aggregate into the submissions folder. You don't want to just to connect random social accounts so you are able to launch the competition, you NEED to connect the accounts you are planning on hosting the competition on.
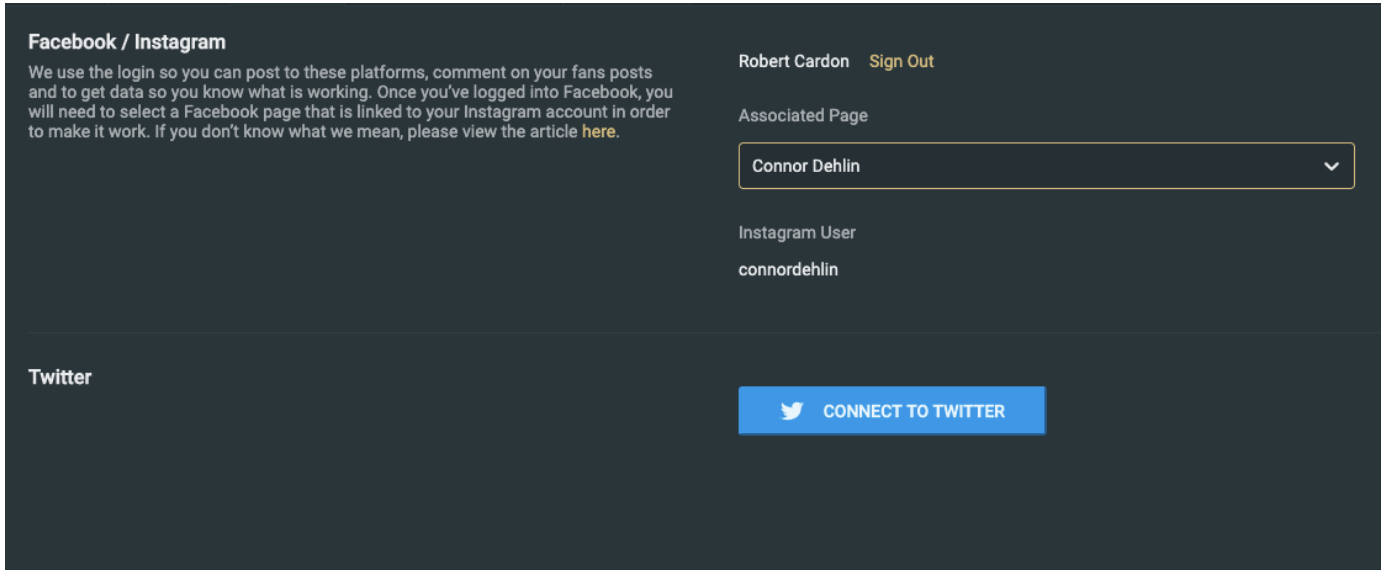
**You can run it on both Instagram and Twitter. All submissions will aggregate into the Submissions folder.
6. Terms & Conditions
Next, you will need to accept Gigg's Term's & Conditions before finalizing your Competition.
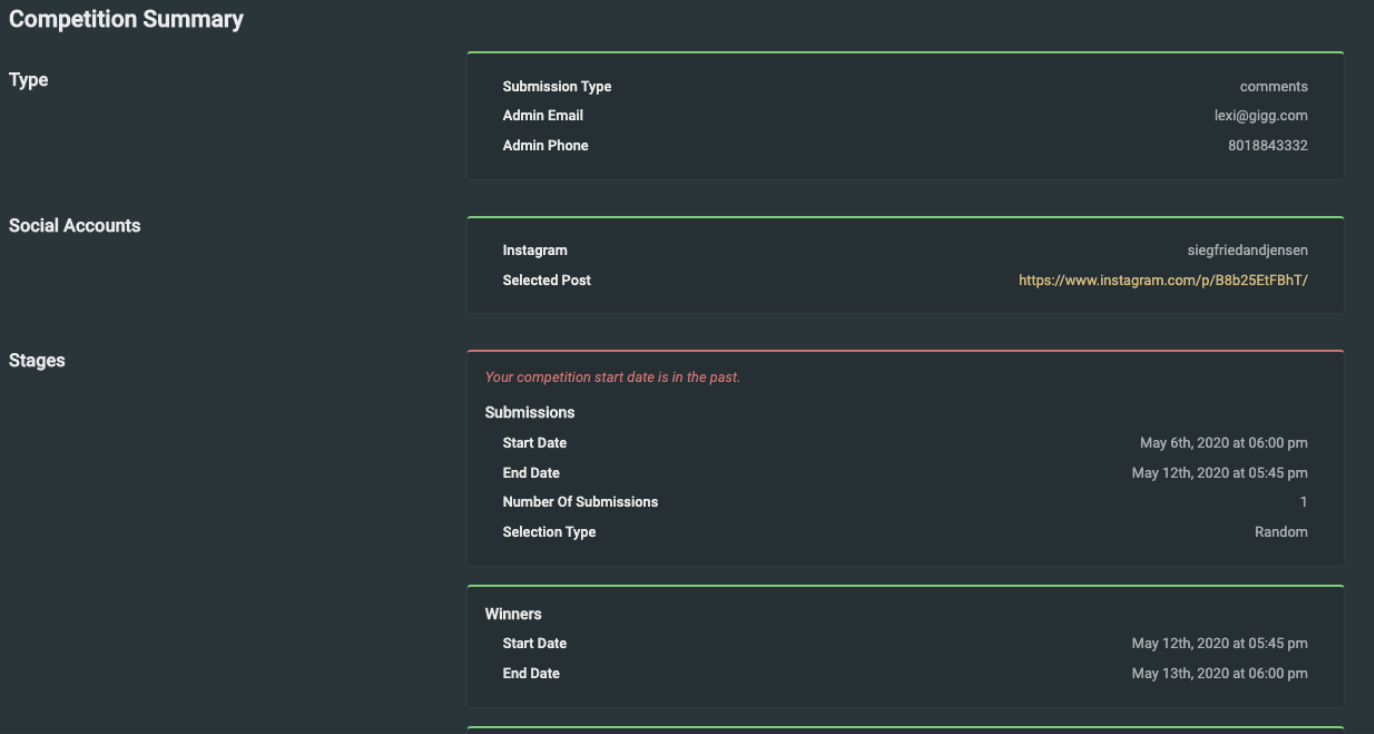
7. Finalize
Lastly, you will finalize your competition. Be sure to check everything is correct on this page. If there are any errors or missing information, it will appear in red and will not let you publish the competition. Once all fields under the Competition Summary are green, you can publish your competition. If anything is marked in red, you will need to go back to the section and make the necessary adjustments.
 Once you competition is published, all entries will appear in the Submissions Folder. You can navigate to see these entries on the left side bar menu under Submissions. This is how the submissions will appear:
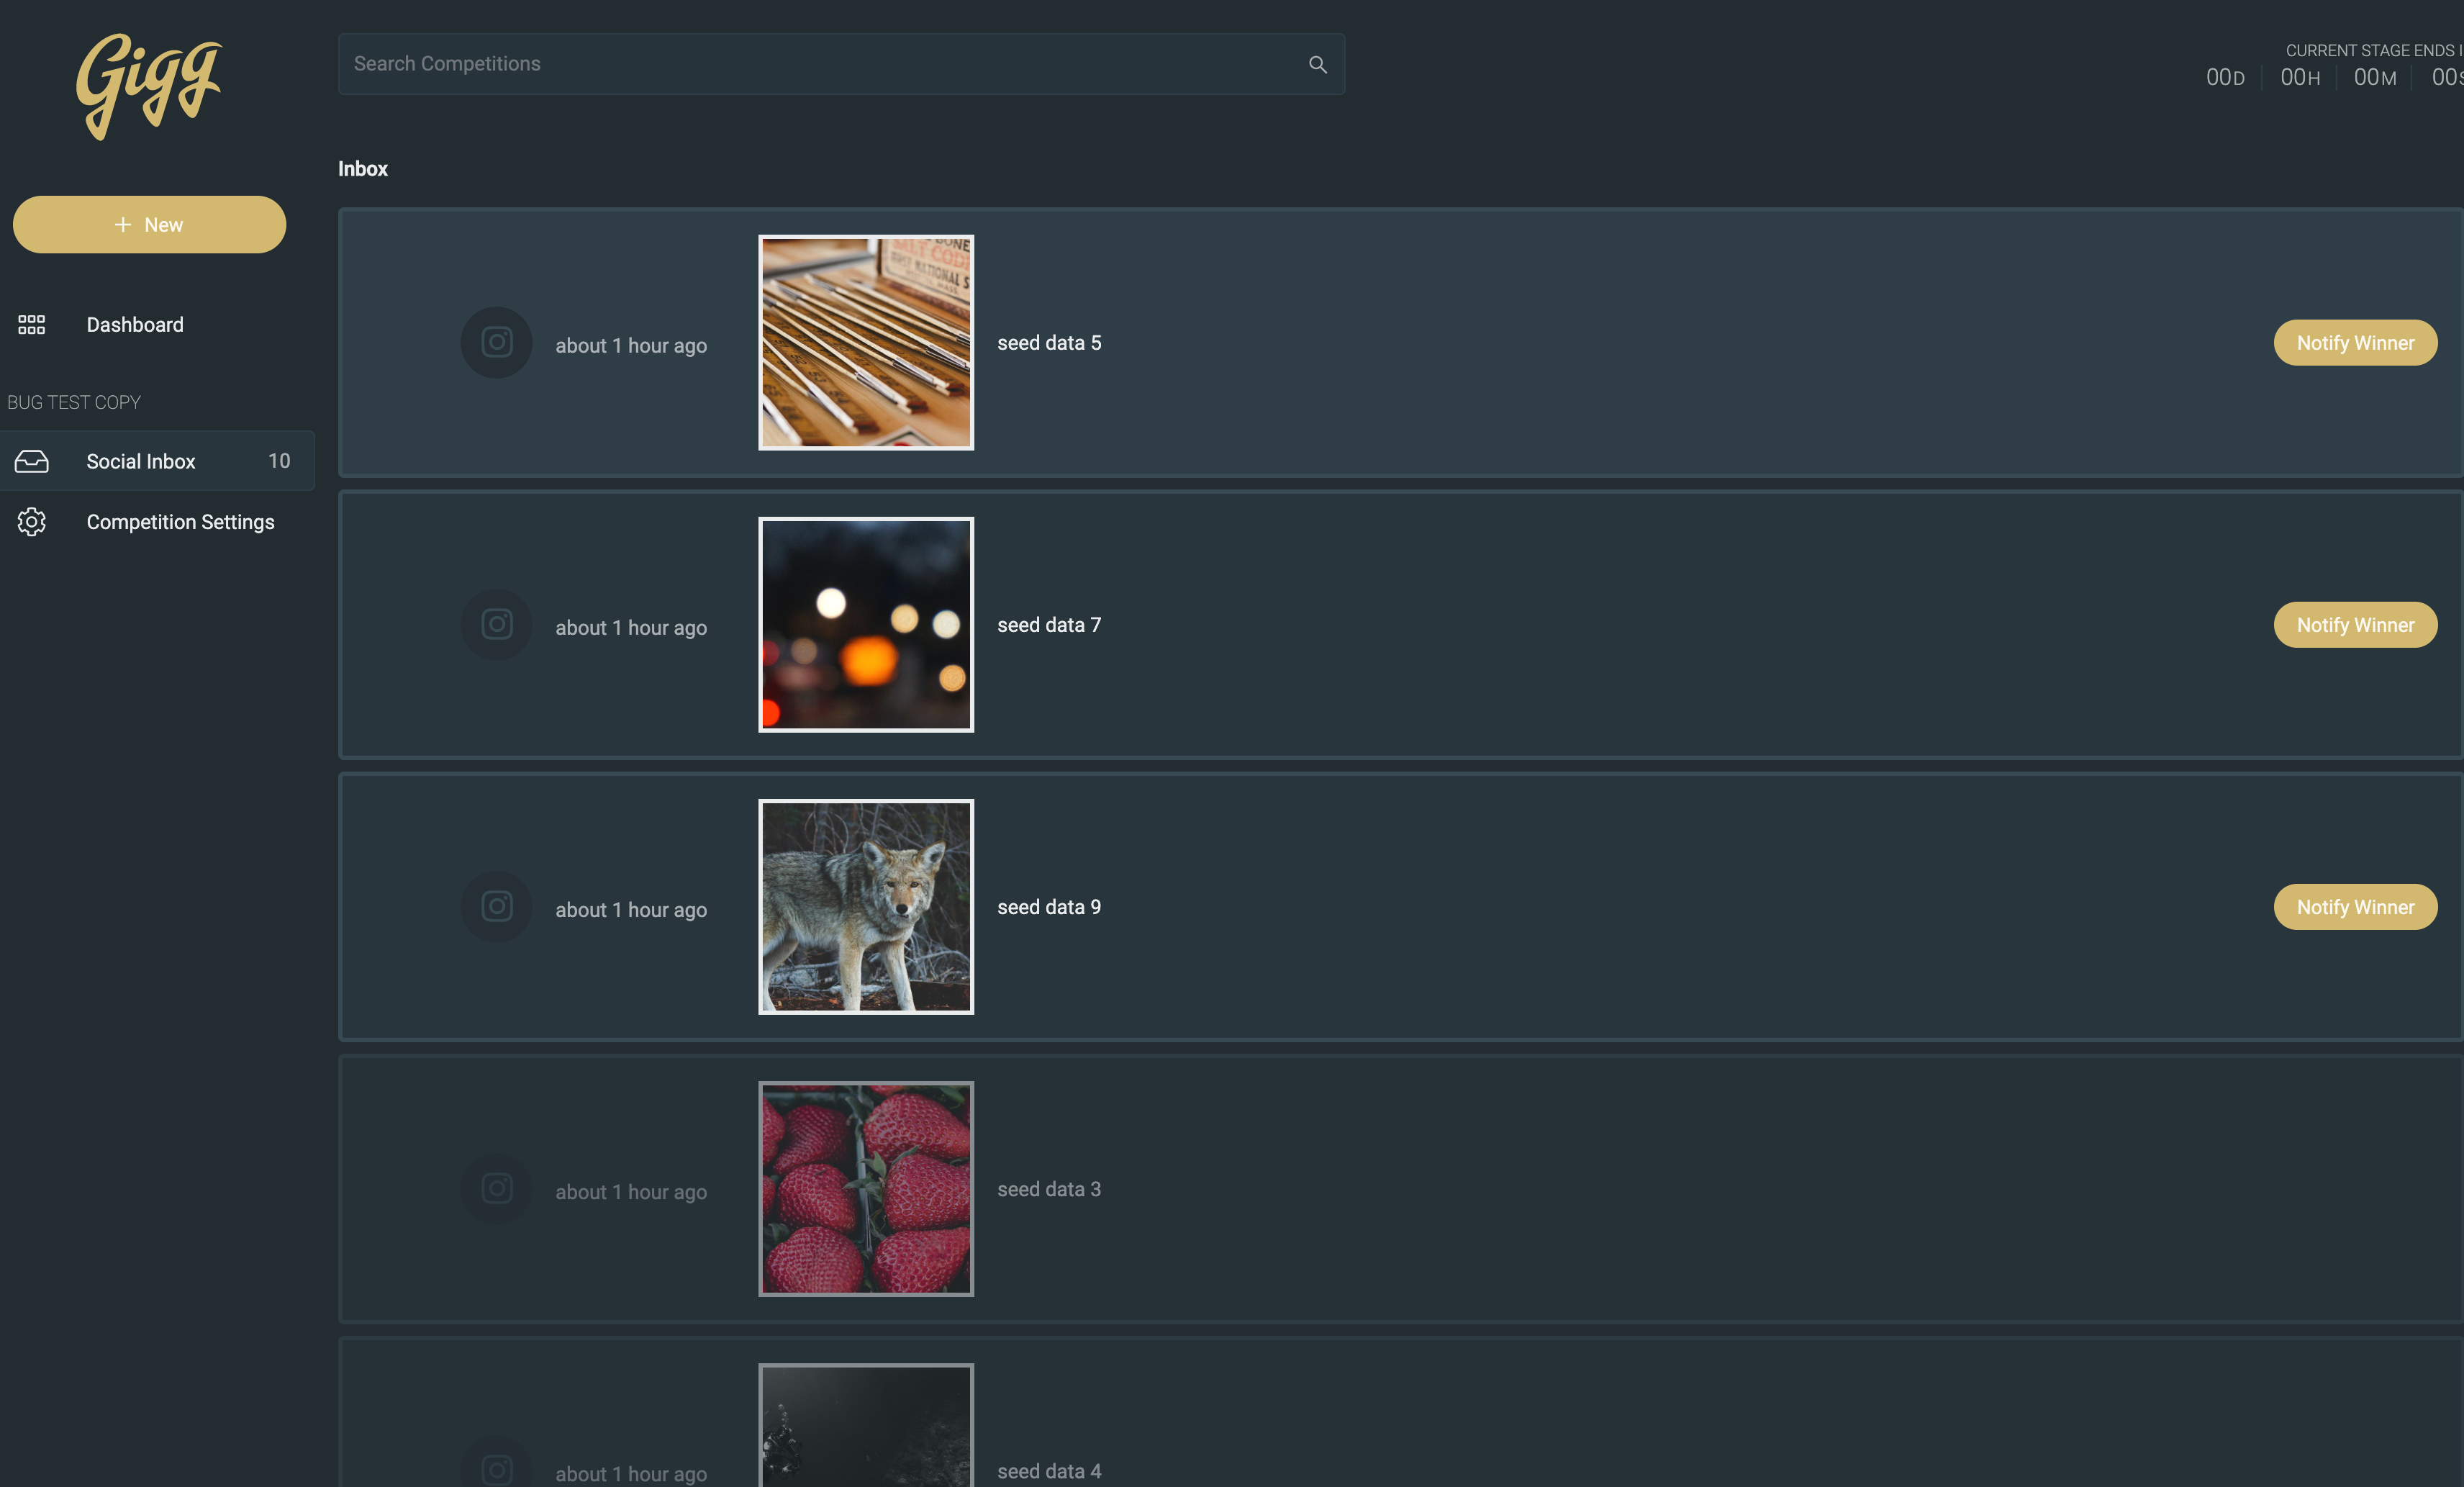
These will appear almost identical to posts in your Social Inbox on your Board.
That is all you need to do! Once you have an idea of a good giveaway to run on your social media platform(s), this becomes the easy part! It will only take a few minutes to setup.
8. Notify the Winner
Once your competition ends, you will be sent an email/text letting you know the competition has ended. If you selected winners to be chosen randomly, this email will contain the user handle of the winner for you to reach out to to get in contact with for the prize.
If you chose Company Choice, the email will notify you the competition is over and to head to your Submission Inbox to pick a winner to notify.
Best of luck!
Extra Tips & Tricks
User-Generated Content
If you are running a Social Tags competition, you will get some great user-generated content that you can easily put to good use. On your Gigg Board, be sure to connect the same social accounts you connected on your competition. This way, you can display all of the entries on your Gigg Board.
Competition Ideas
Obviously you want the competition to go well and have plenty of people enter! Part of this is going to come from you and your team. You know your audience best and what will appeal to them. Pick a prize they will be motivated by. If you need more ideas on competition ideas, you can click here to read about best practices for running a competition on social media!
Did this answer your question?